Make Your Own Clothing Organizers Out Of These Basics
Many times, our cabinets end up being a mixed bag, where everything ends up thrown away and mixed up. Clothes, bags or even shoes end up finding their space by force. If you are wanting to organize your closet and don’t know where to start, read on.
So here are some ideas for you to make your own clothing organizers. They will serve you materials that you surely have at home. If not, they are still very easy to get. However, the idea is to recycle the objects that you no longer use. Give them a new opportunity, which also brings you some benefit. Here are some of them:
- Sort your belongings
- Promote creativity
- Perform manual activities that help distract the mind and improve motor skills
- And, last but not least: Contribute to the sustainability of the planet by recycling disused elements
Easy-to-make clothing organizers
Having clean and tidy each space makes you feel good and you can save time. With different elements, you can make organizers for each type of clothing and keep your wardrobe always in order. Also, aesthetically, it will look much better.
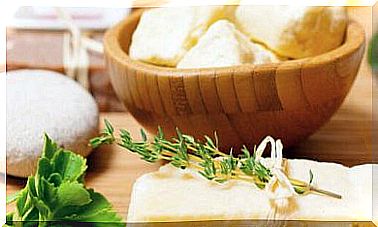
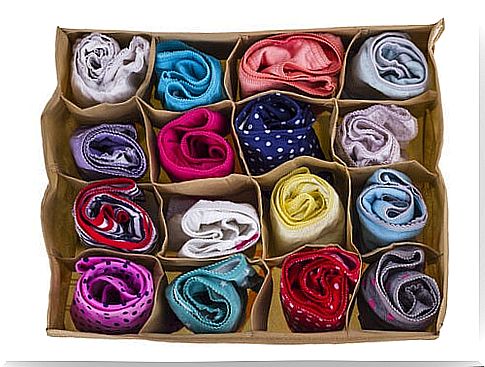
1. Organizers made with felt
These types of organizers are special for storing small items of clothing. By being relegated to the bottom of the drawer, we forget that we even have them. They are therefore ideal for ordering underwear, stockings and socks.
Materials
- 10 felt rectangles (30 cm long X 10 cm high)
- Gun silicone
How it is assembled
- Take a rectangle and divide it into three equal 10 cm parts
- Mark those vertical lines with silicone
- Place another rectangle of felt on top. In this way, they are going to stick on those two lines.
- On the felt above, divide it into three again.
- Apply the silicone.
- Glue on another felt.
- And so on, until finished.
How to use
- Put the felt organizer inside the drawer.
- Put one garment in each hole.
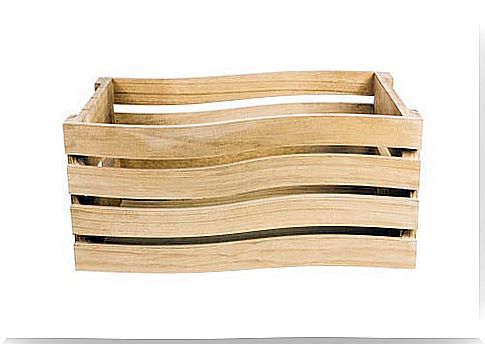
2. Cabinet with wooden drawers
This organizer is a bit bigger. It is ideal for when you have a free wall and need shelves to hang clothes hangers. With very few elements you can have a home-made wardrobe, spacious and to your liking.
In addition, it can be adapted to a children’s room using children’s motifs and drawings. Or, it can respond to a more classic or vintage style, if it is decorated with pastel colors. Its height and size could vary depending on the taste and need of each one.
Materials
- 8 wooden drawers
- A 1 meter wooden stick
- Rings to hold
- Sandpaper
- Paint and brush
How it is assembled
- First, you sand the boxes very well inside and out.
- Then, paint the boxes and the wooden stick, the color of your choice.
- Stack the boxes in two groups of 4, with the opening facing forward.
- And leave 80 cm of free space between the two.
- Place the rings on top of the drawer that was left above.
- Pass the stick through the rings.
How to use
- On the stick, you can put the hangers.
- Inside the drawers, you could put folded clothes, bags, or whatever else you need to store.
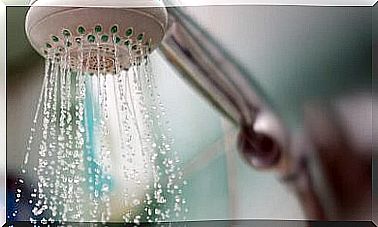
3. Organizers with hangers and curtain rings
We show you how to make this organizer to order all scarves and neckerchiefs. It will help you save space and have all your clothes neat and visible.
Materials
- 1 hanger
- 8 shower curtain rings
How it is assembled
- Simply take the rings and hook them onto the hanger.
- Hang the hanger on the coat rack.
How to use
- A scarf or handkerchief is placed per ring.
- The rings are distributed along the hanger.
With simple materials and within easy reach, beautiful organizers can be assembled. Not only do they serve to keep clothes tidy and better cared for, but they also dress and decorate the bedroom. Go ahead and make one and tell us about your experience.